
This December, I kept seeing the same thing on my feed: sheer bases, tiny red bows, and candy cane stripes that didn’t scream. Pastel Christmas, someone called it. I rolled my eyes at first. Then I tried a chrome pink French with a single bow and understood why everyone was quiet about it.
These 20 Easy Christmas Nails 2026 designs are the ones I actually wore through holiday chaos, from short oval to long stiletto, from salon bookings to Sunday DIYs that didn’t test my patience. No glitter fallout, no regret by day three. Just nails that work on olive skin, short beds, and the woman who still has gifts to wrap.
Sheer Pink Chrome French With Red Bow
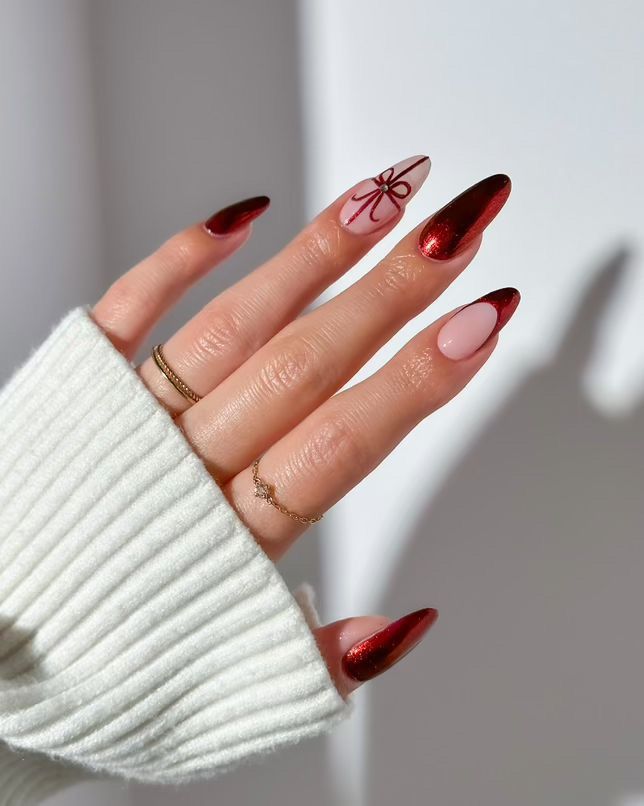
That deep red metallic French tip catches light differently than a standard red — it winks instead of shouts. The sheer pink base keeps the whole thing from feeling heavy, and the tiny bow on the accent nail is the only decoration you need. Long almond shape helps the metallic line look sharp, not sloppy. This is Christmas elegant without the tinsel overload.
Bold Red and White Candy Cane Stripes
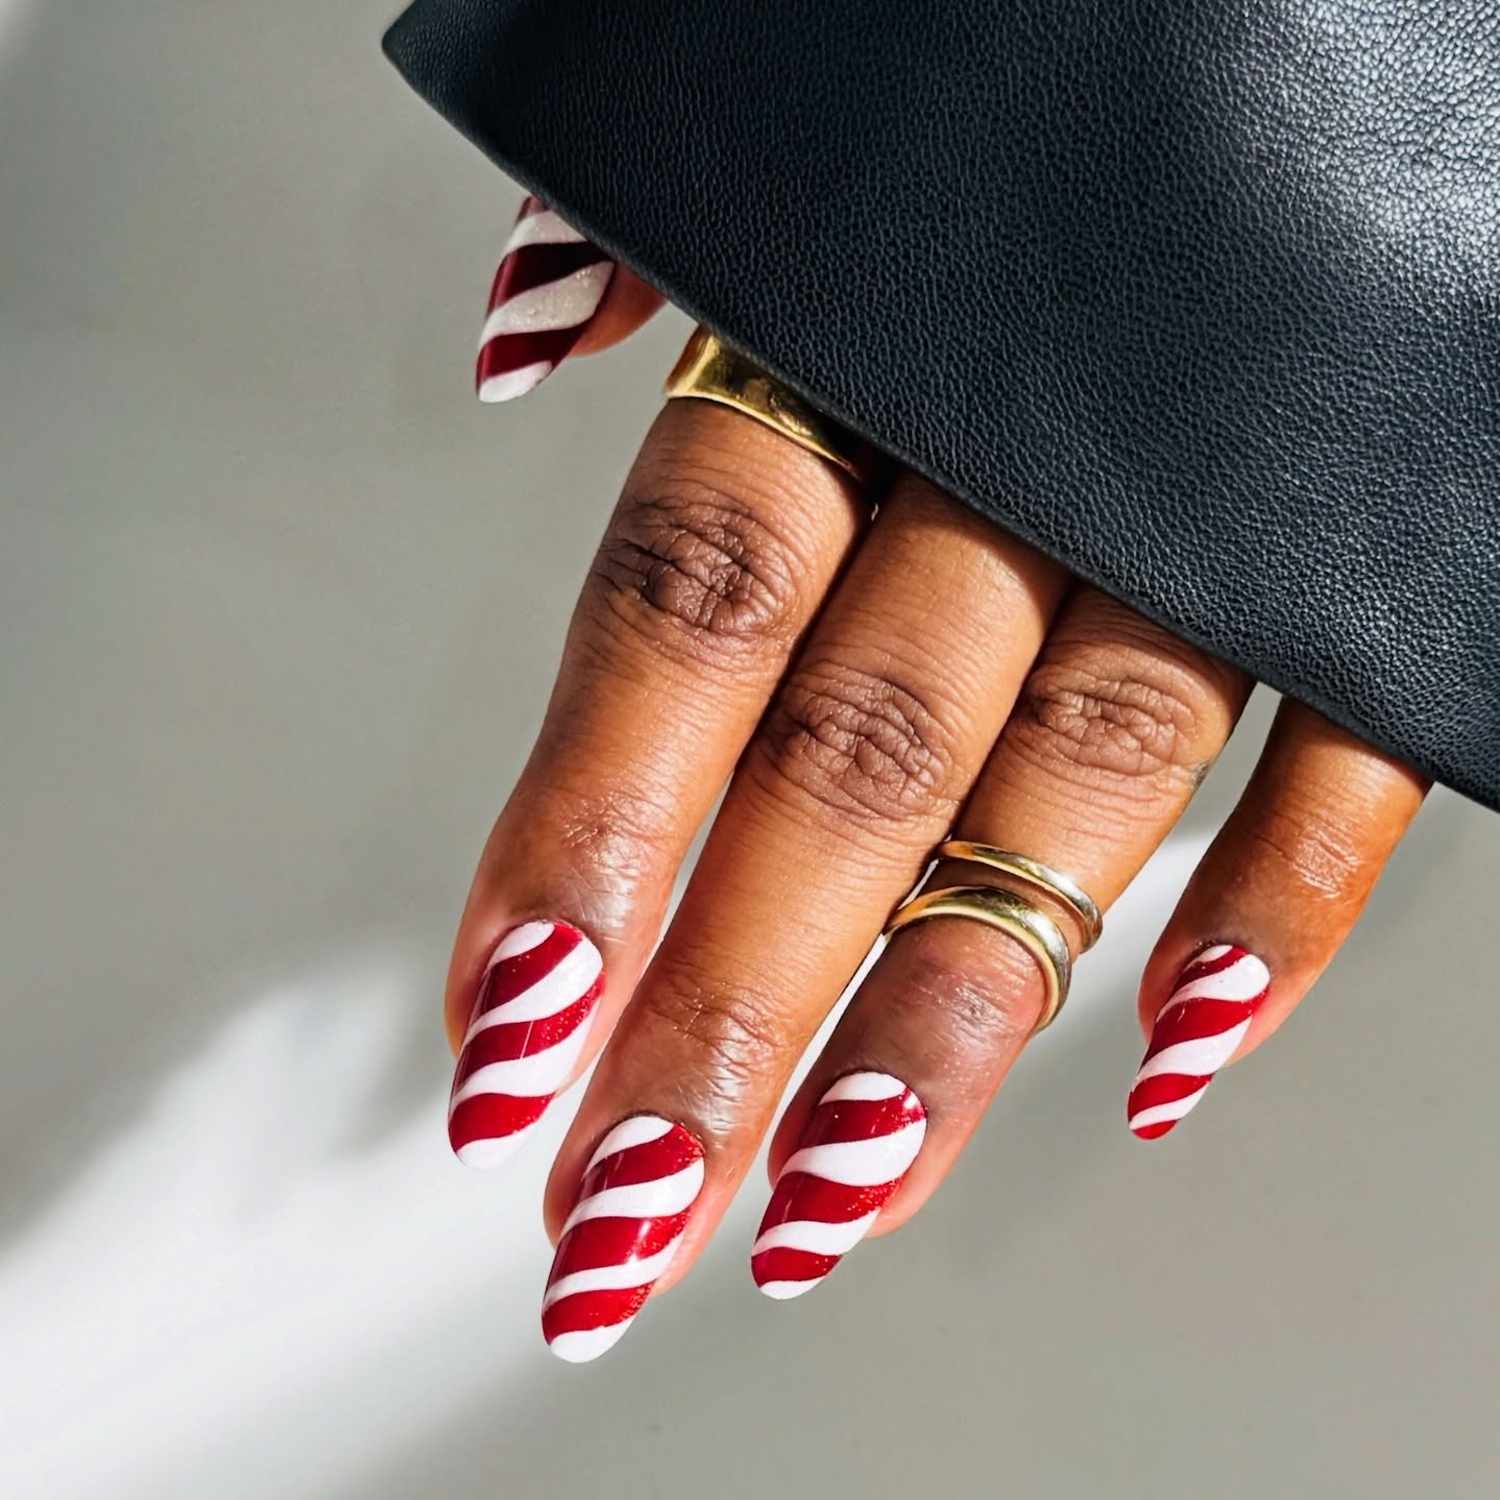
Candy cane stripes are the easiest Christmas design to mess up. At home, you fight with polish consistency and steady hands — those lines want to bleed or wobble. A salon tech uses thin layers and a striping brush that doesn’t drag. You get crisp edges and even spacing. The trade-off is time: this takes longer than a solid red, but the result reads intentional instead of frantic.
If you’re patient and own a good liner brush, you can get close. Just expect to redo at least one nail. I’ve done both, and I’d book the appointment for the clean finish.
Short Square Silver French With Red Bow
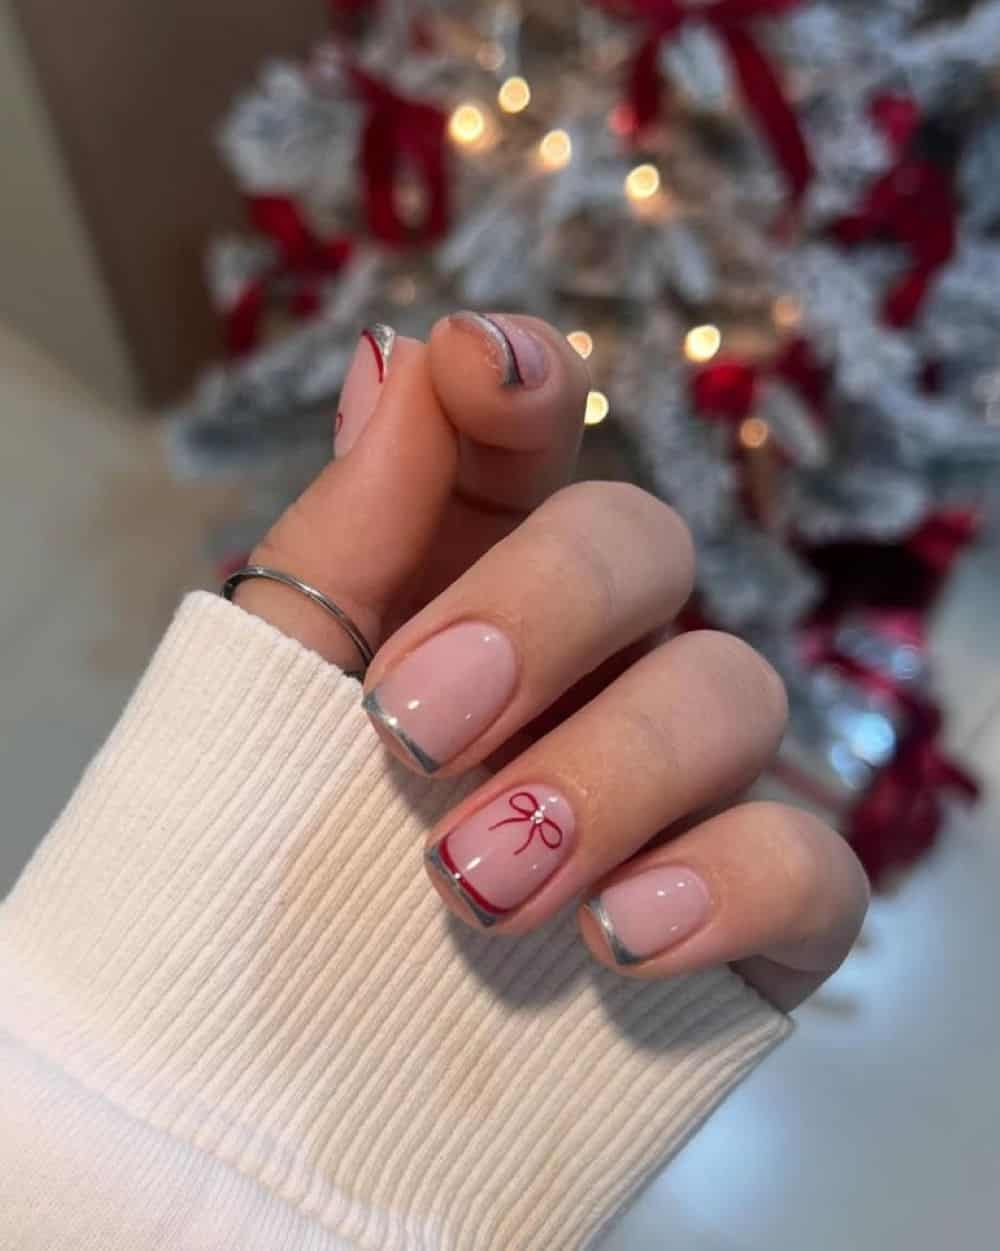
Short square nails — are they for you? They suit anyone who types, opens jars, or picks up contact lenses without thinking. The blunt tip doesn’t catch on sweater knits the way almond does. Silver French tips read icy and clean against the sheer pink base, and the red bow adds the holiday note without bulk. Skip this if you want elongation — short square makes fingers look wider, not longer. But for real life, it’s the most wearable Christmas set I’ve worn.
Light Pink Christmas Icons
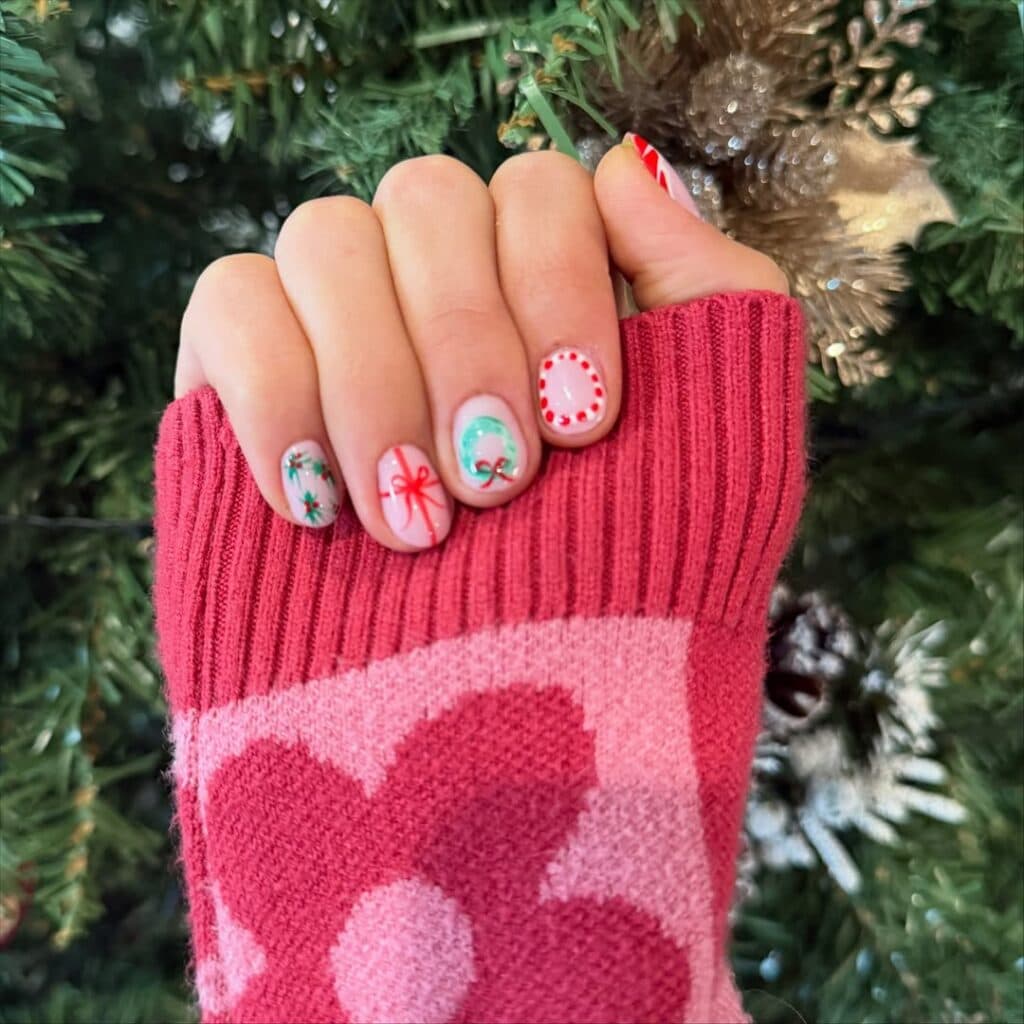
Small icons like these look adorable fresh out of the salon. The miniature Christmas tree, gift bow, and holly sprig sit on a light pink base that doesn’t compete with the art. But here’s the wear reality: those tiny details are the first to chip. By day five, the tree’s top is missing a branch. A clear top coat reapplied every few days helps, but expect touch-ups. If you’re okay with a little imperfection, this is charming. If crisp art matters, choose a simpler design.
Pale Pink Snowflakes and Dots
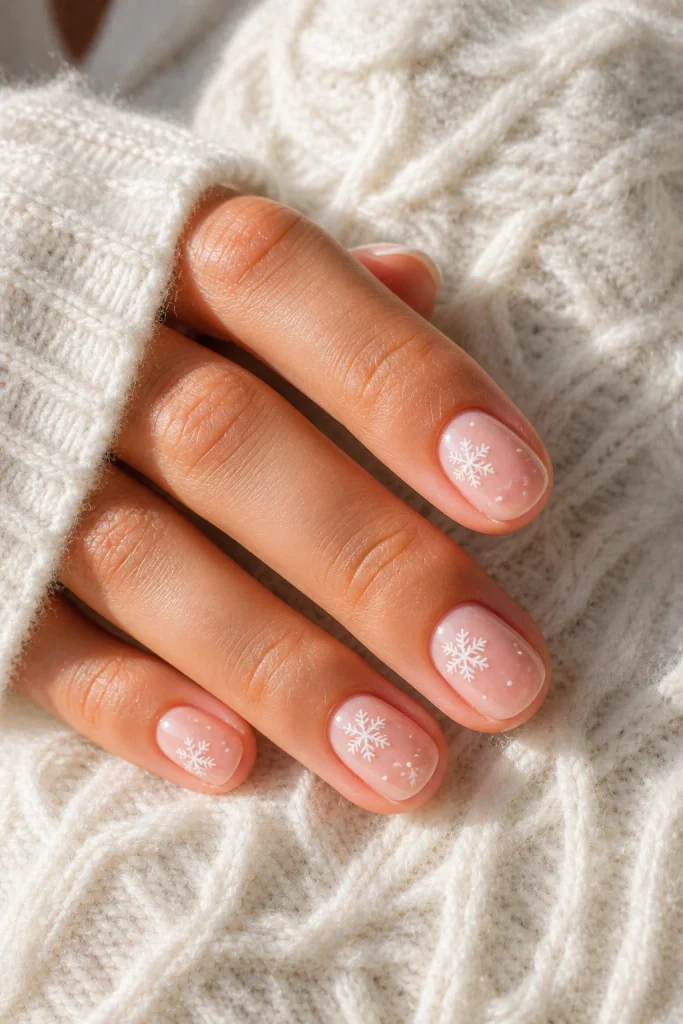
I tried this at home and it took three tries before the snowflakes looked like snowflakes and not splatters. The trick is a sheer pale pink base — it hides mistakes. Use a dotting tool for the center dot, then pull six tiny lines outward. Keep the dots small; oversized snowflakes look clumsy on short round nails. The honest downside: your non-dominant hand will look less polished. But the sheer base means grow-out is invisible, so you can leave it for two weeks without cringing.
Start with a thin coat of sheer pink, let it dry completely, then add white snowflakes on a few accent nails. A glossy top coat seals everything. Skip the striping tape — freehand gives a softer, more natural winter feel.
Sheer Pink Glitter Red Dot Line
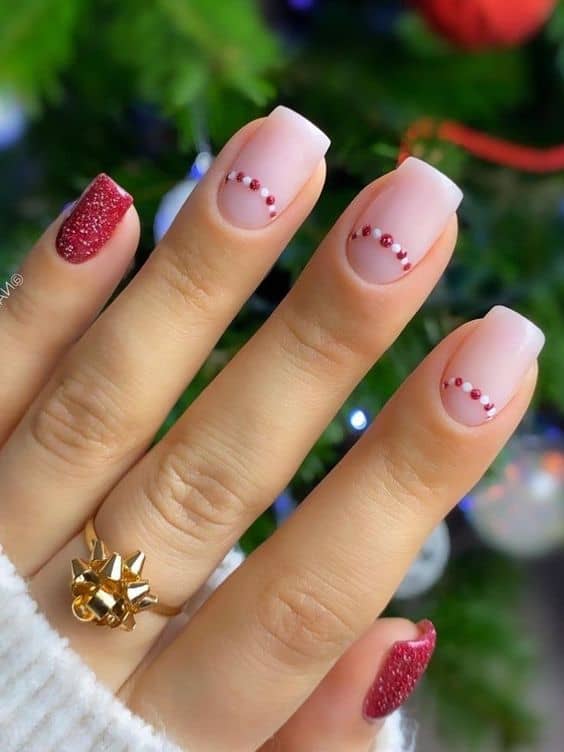
The verdict is clear: this sheer pink base with one red glitter accent nails nail and a line of red and white dots is best enjoyed once. The glitter looks lovely in the dim light, but it snags on sweaters and the dots shift under top coat. The short square shape keeps it minimal, but don’t expect it to last through a work week. Fun for a single gathering, not for daily life.
Matte Nude Christmas Mix
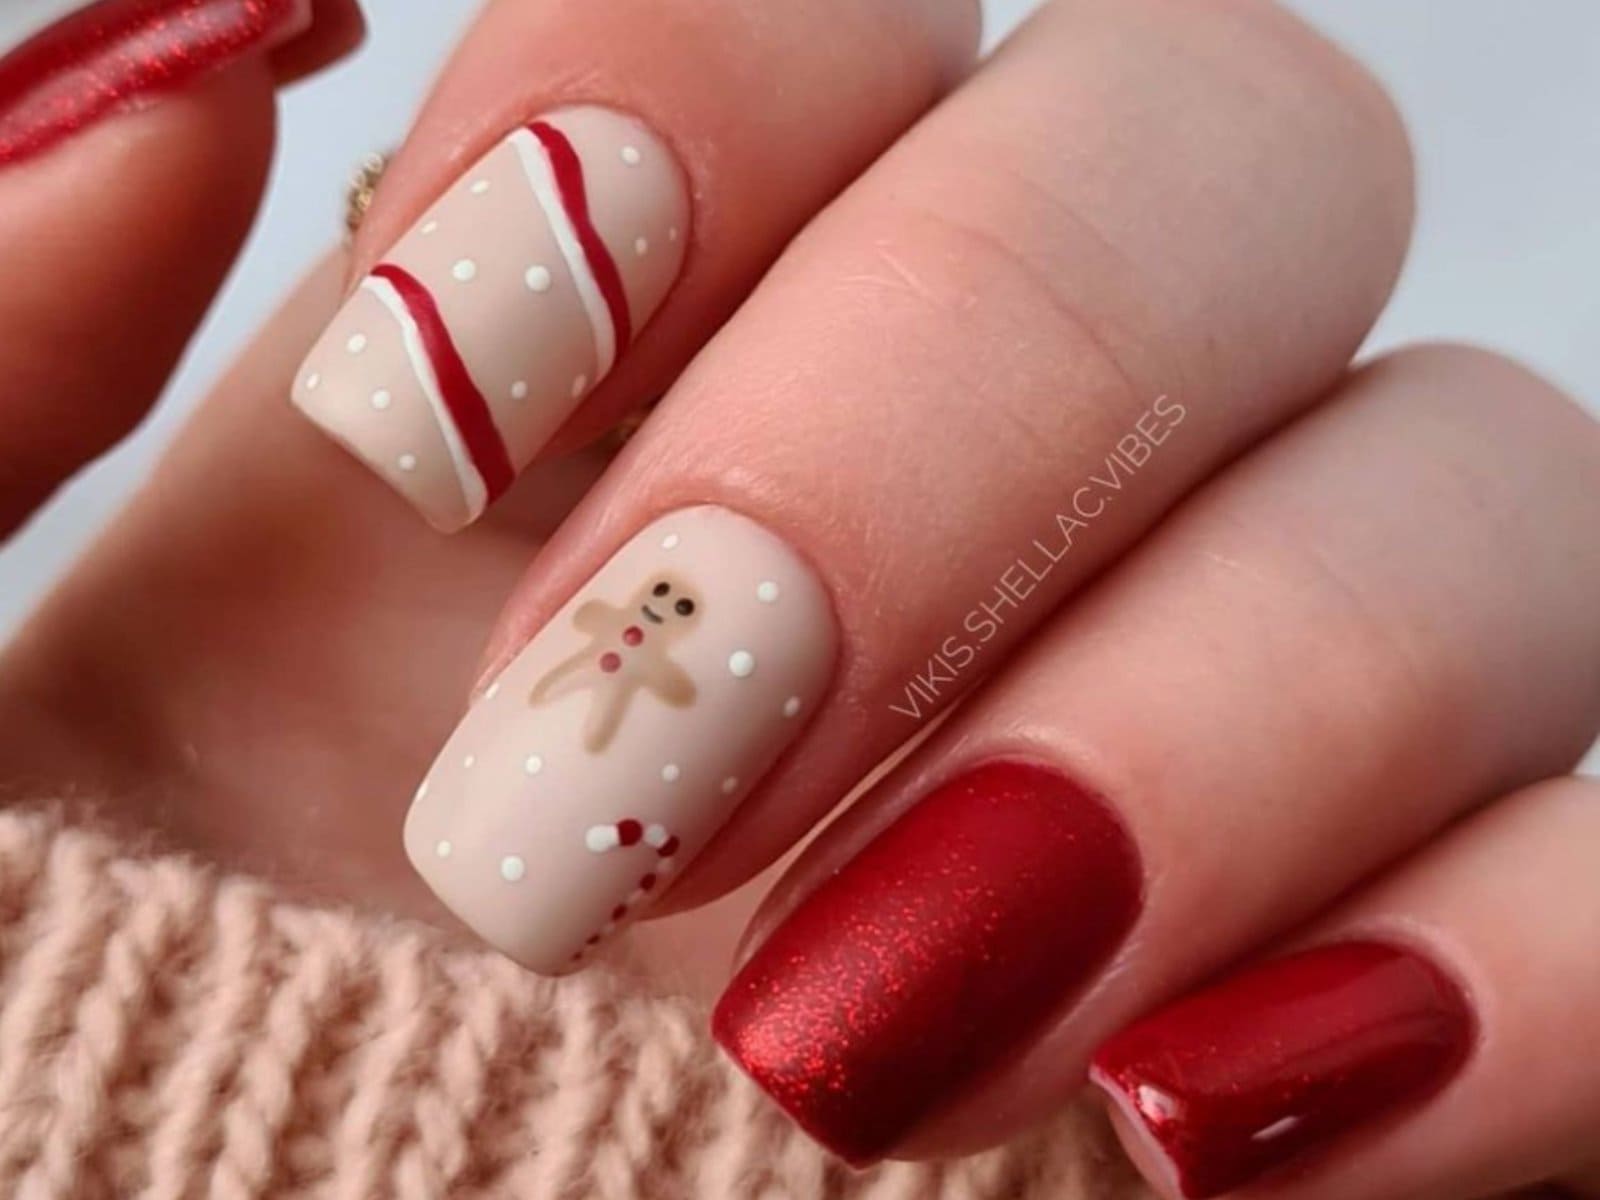
The precision here is what makes or breaks this set. Multiple techniques — french tips, dots, foil, rhinestones — all on a nude base, and each requires clean edges and steady hands. The matte christmas nails finish on the nude shades contrasts with the glossy red and gold accents, and the gingerbread man motif demands tiny line work. This is not a beginner’s DIY; the cuticle work and evenness scream salon-leaning. Book an appointment with a tech who enjoys detail work.
- Short square shape for a sturdy canvas
- Nude matte base with varied accent shades
- Mix of glossy and matte finishes for contrast
- Accent nails with foil and rhinestone details
- Precise french tips and dot work on multiple nails
The result is a playful, eclectic set that looks collected rather than chaotic — but only if every line is clean.
Glitter Pink Candy Cane French
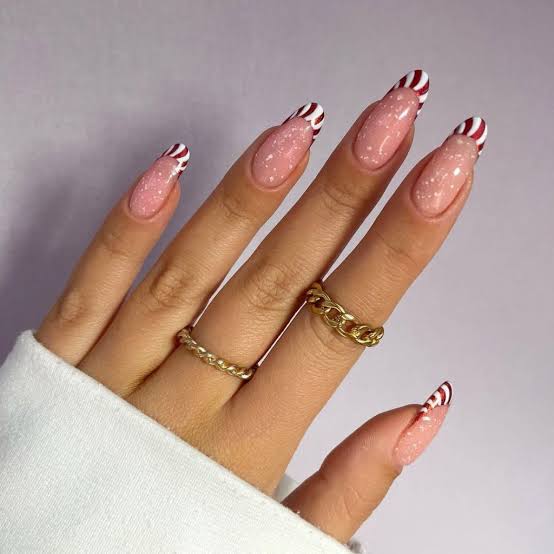
This set is pure Christmas cheer, and I’m not mad at it. The sheer pink base with glitter french tip nails in a tilted candy cane stripe pattern feels festive without screaming. The fine glitter catches the light, and the almond shape elongates the fingers. Perfect for holiday parties where you want to look polished but not overdone. It’s a salon look that photographs well and matches any sparkly sweater.
Matte Red Cable Knit Snowflakes
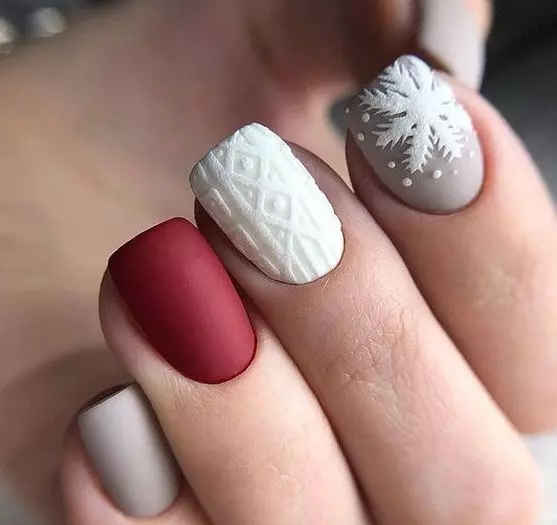
Wondering if textured nails are worth the hassle? The matte red base with a cable knit nails pattern and snowflakes mimics a cozy sweater, and the textured design adds dimension that flat matte can’t achieve. It’s a clever nod to winter fashion, but the texture comes at a cost.
The raised ridges catch on everything — hair, scarves, even pillowcases. Wear time is shorter than a smooth matte finish, about a week before the top layer starts to wear down. And the matte effect fades to a patchy shine as oils absorb. If you want the look for a single day, it’s great. For a full week of typing and handwashing, you’ll be reapplying top coat by Wednesday.
Red Reindeer Face Stilettos
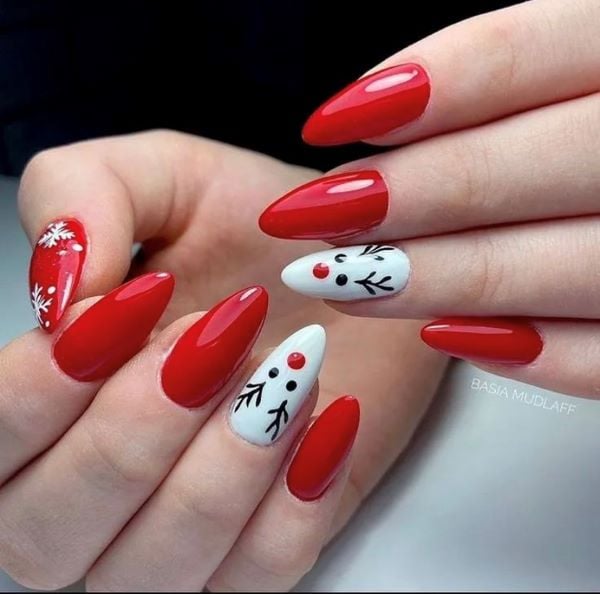
Medium stilettos demand confidence, and the reindeer face nails take it further. The bright red base with white accent nails featuring a detailed reindeer face and snowflakes is playful and bold. This suits someone who loves attention and doesn’t mind the impracticality of stilettos — they catch on sleeves and break easily. The high-gloss finish makes the art pop. Perfect for a Christmas party where you want to be the center of the conversation. If you type all day or have a hands-on job, skip it.
Gold Glitter Holly Berry French
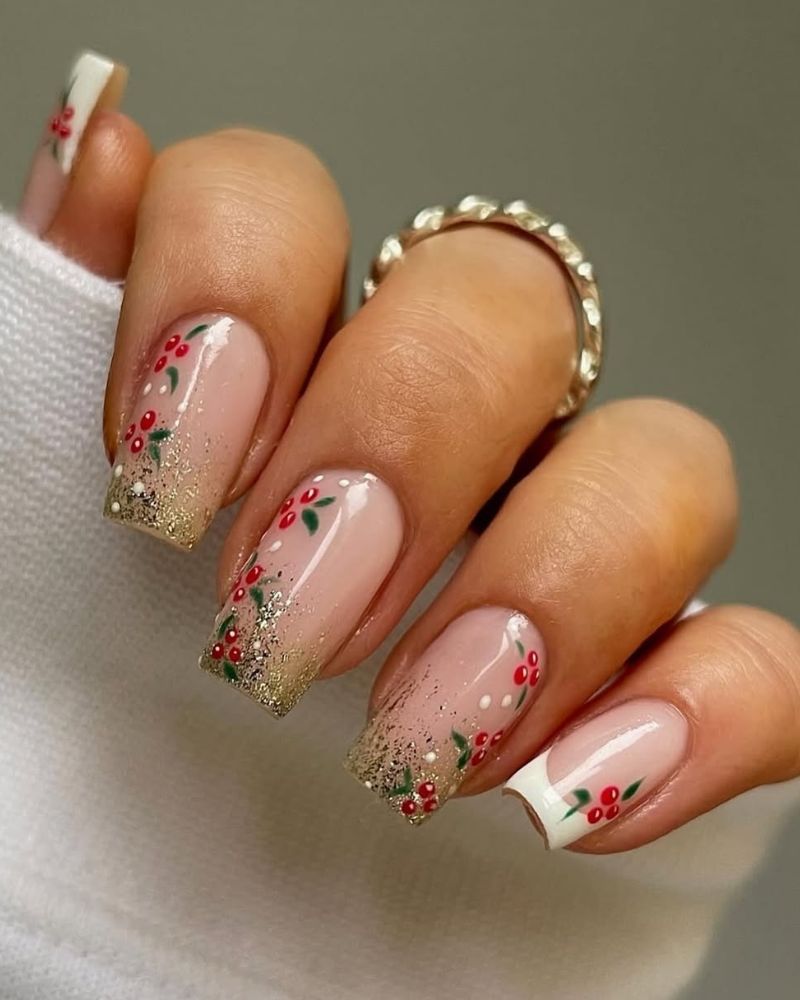
Best wear time in this roundup. The gold glitter french tip holds its shine past week two, and the holly berry design stays crisp if you seal the edges. Salon-leaning for the berry detail, but a steady hand can fake it at home with a dotting tool and a thin brush. The glitter hides any regrowth nicely.
3D Christmas Tree Stilettos
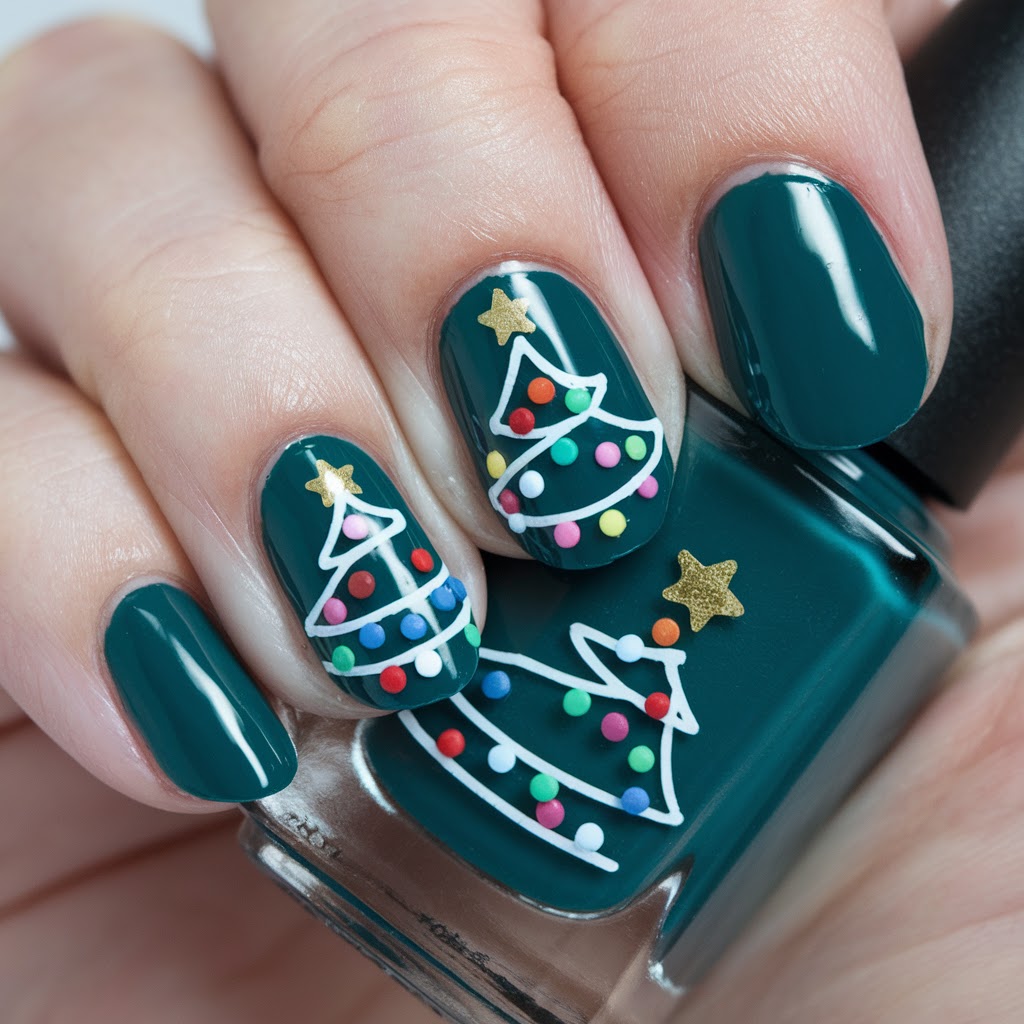
I’ll admit, I tried this at home and the first tree fell off by day two. The trick is a strong builder gel base and curing each layer separately. For the 3d christmas tree nails, ask for these shades at the salon or the supply store:
- Dark green gel for the tree body
- Nude pink for the base coat
- Gold metallic for the star on top
- Red and white for baubles
- Clear builder gel to encase the 3D elements
The long stiletto shape gives the tree room to breathe, but expect snags on sweaters. A thick top coat over the whole thing doubles the lifespan.
Short Oval Festive Motifs
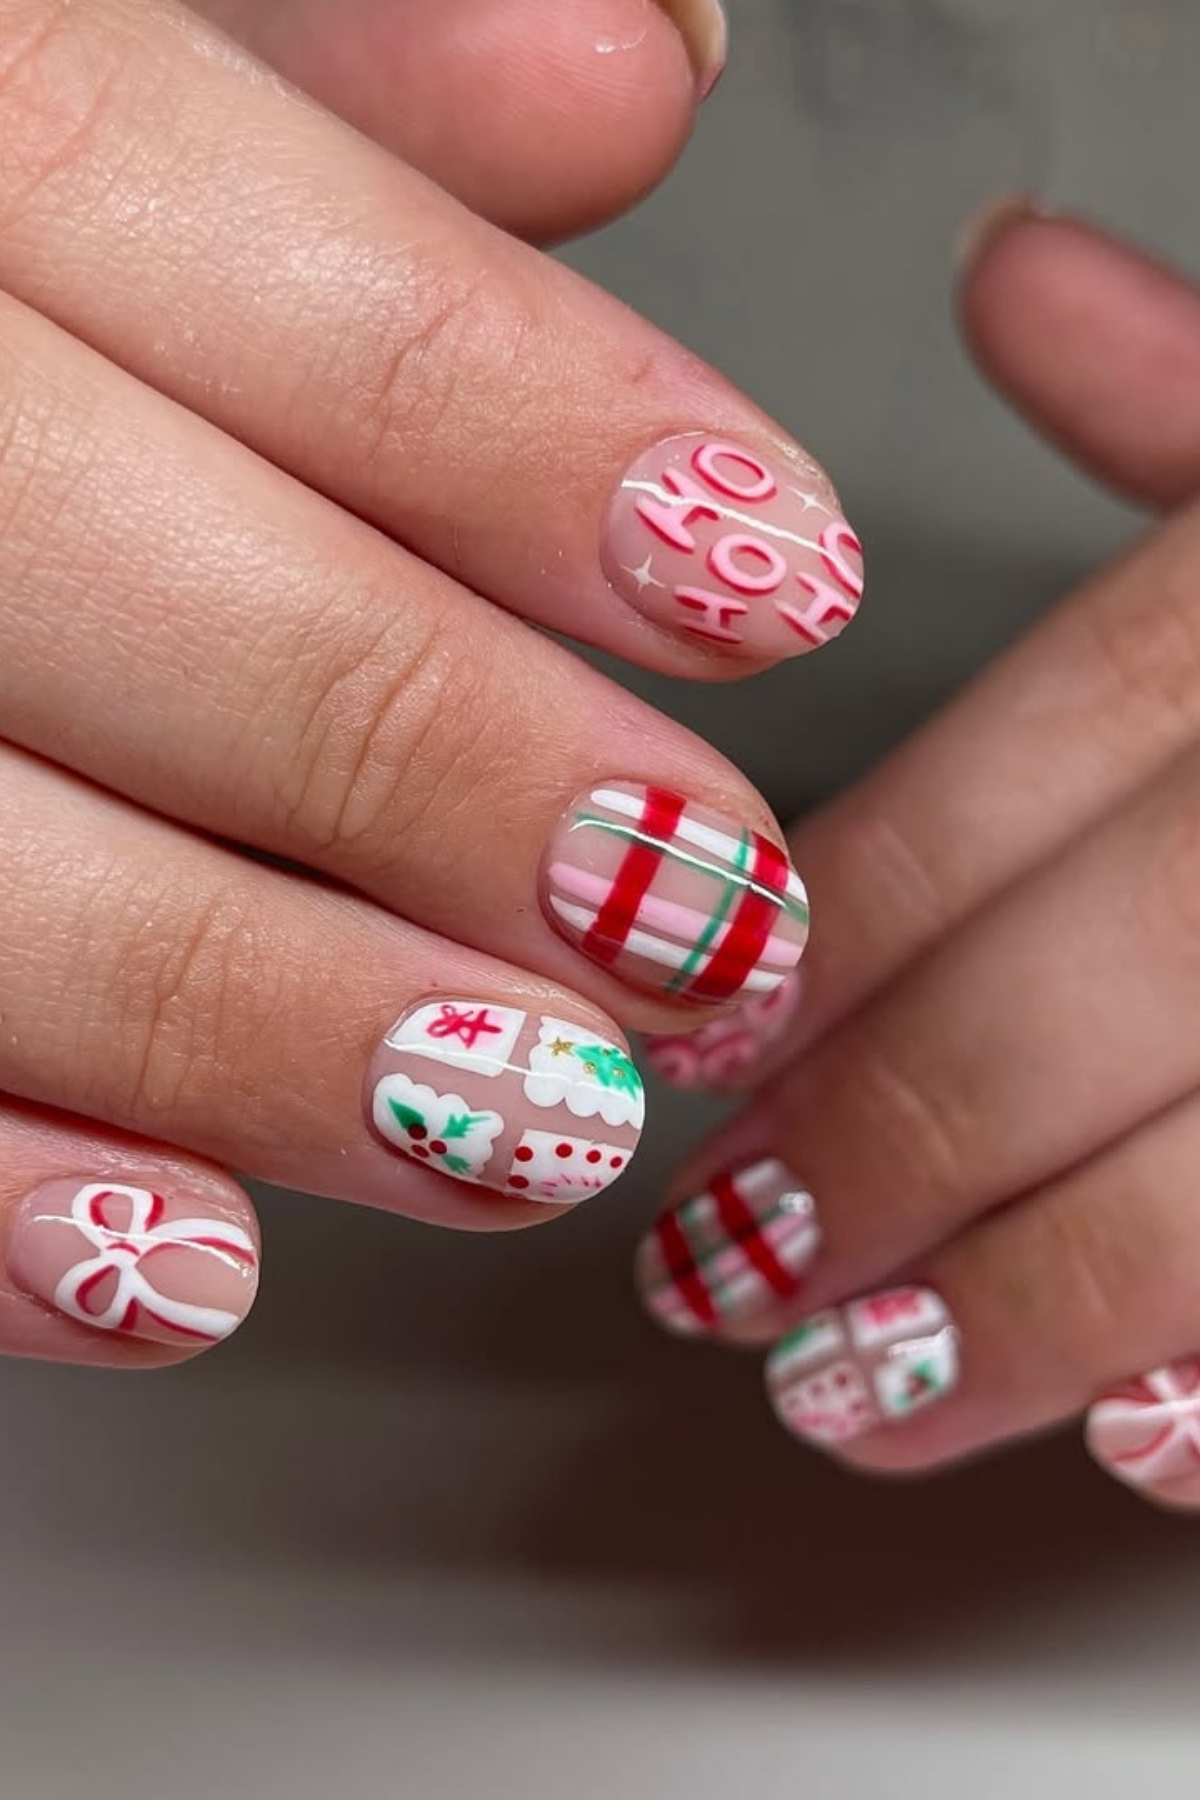
There’s a fine line between charming and cluttered, and this design walks it carefully. The christmas motif nails pack a gingerbread man, a present, a tree, a candy cane, and plaid onto short ovals. The detailed artwork is impressive up close, but on such a small canvas, the finer lines blur after a week. Great for a single party night, less so for a two-week holiday trip. The honest downside: one chip and the whole motif loses its shape.
Nude Glitter Christmas Pudding
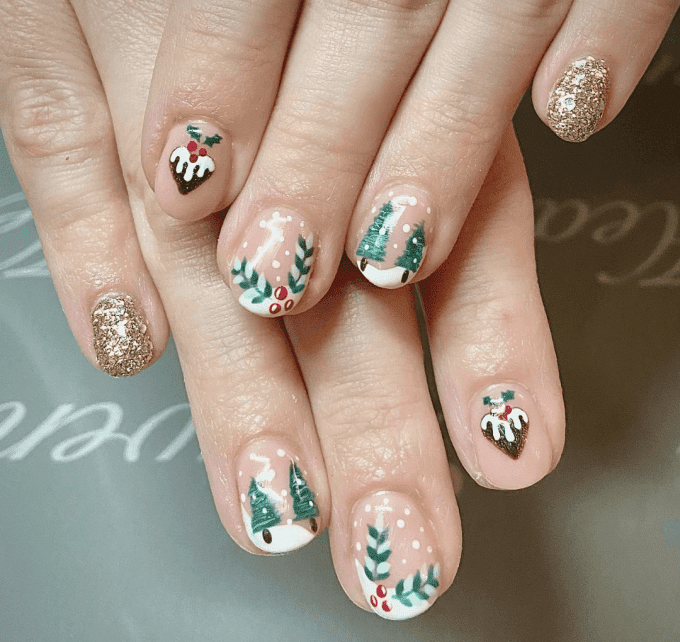
How do you make a pudding look festive without it turning into a mess? Start with a nude base, add a gold glitter finish on the tips, then layer on the details: a red dot for the cherry, green leaves, and a few white dots for icing. The christmas pudding nails rely on contrast — the matte nude keeps the glitter from overwhelming. A thin top coat seals the tiny embellishments without dulling the shine.
Glossy Red Christmas Tree Dots
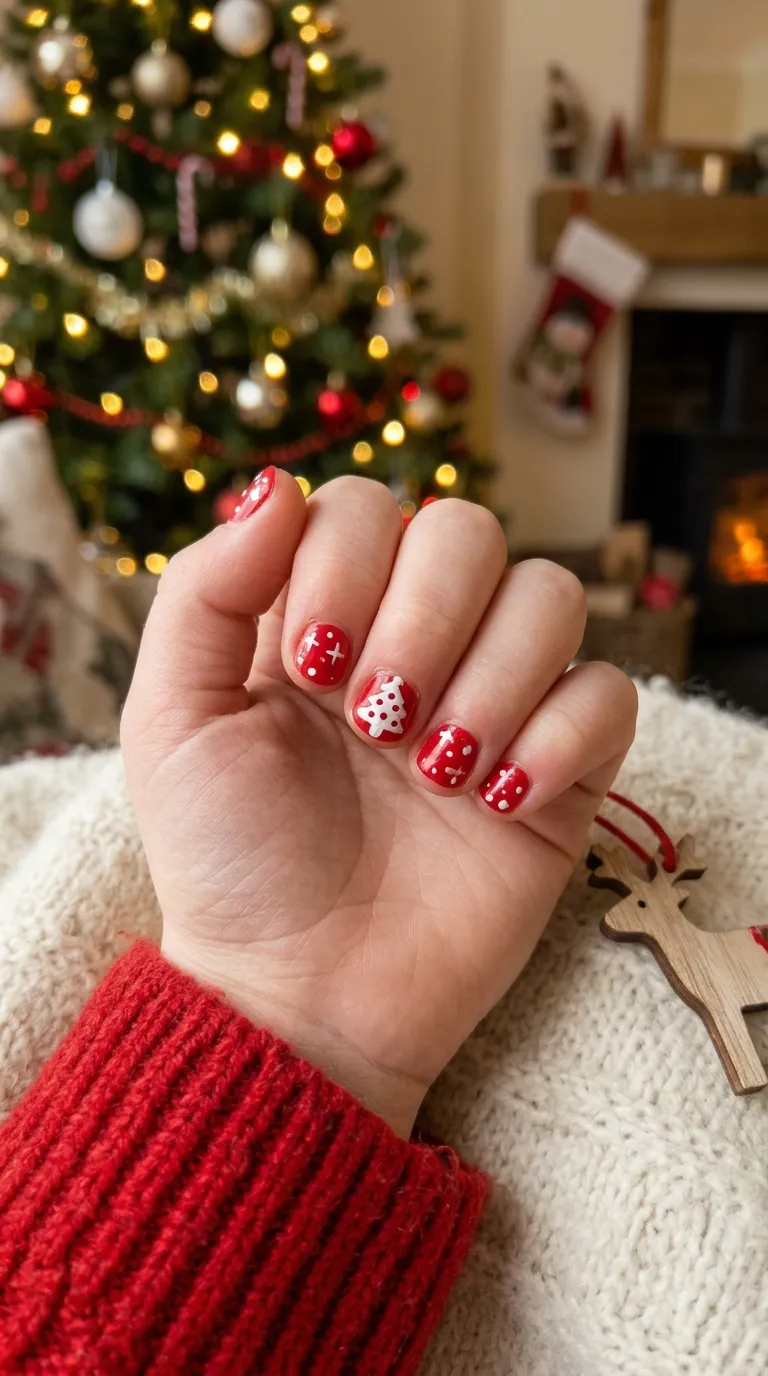
This one surprised me. A simple white tree on glossy red, with scattered white dots — it reads like a salon job but takes half the time. The red christmas tree nails pop because the white polka dots break up the solid color without extra cleanup. DIY-friendly if you have a steady hand for the tree outline, but the gloss finish hides any minor smudges. The simplicity means fewer touch-ups needed.
Metallic Red Holly Berry Art
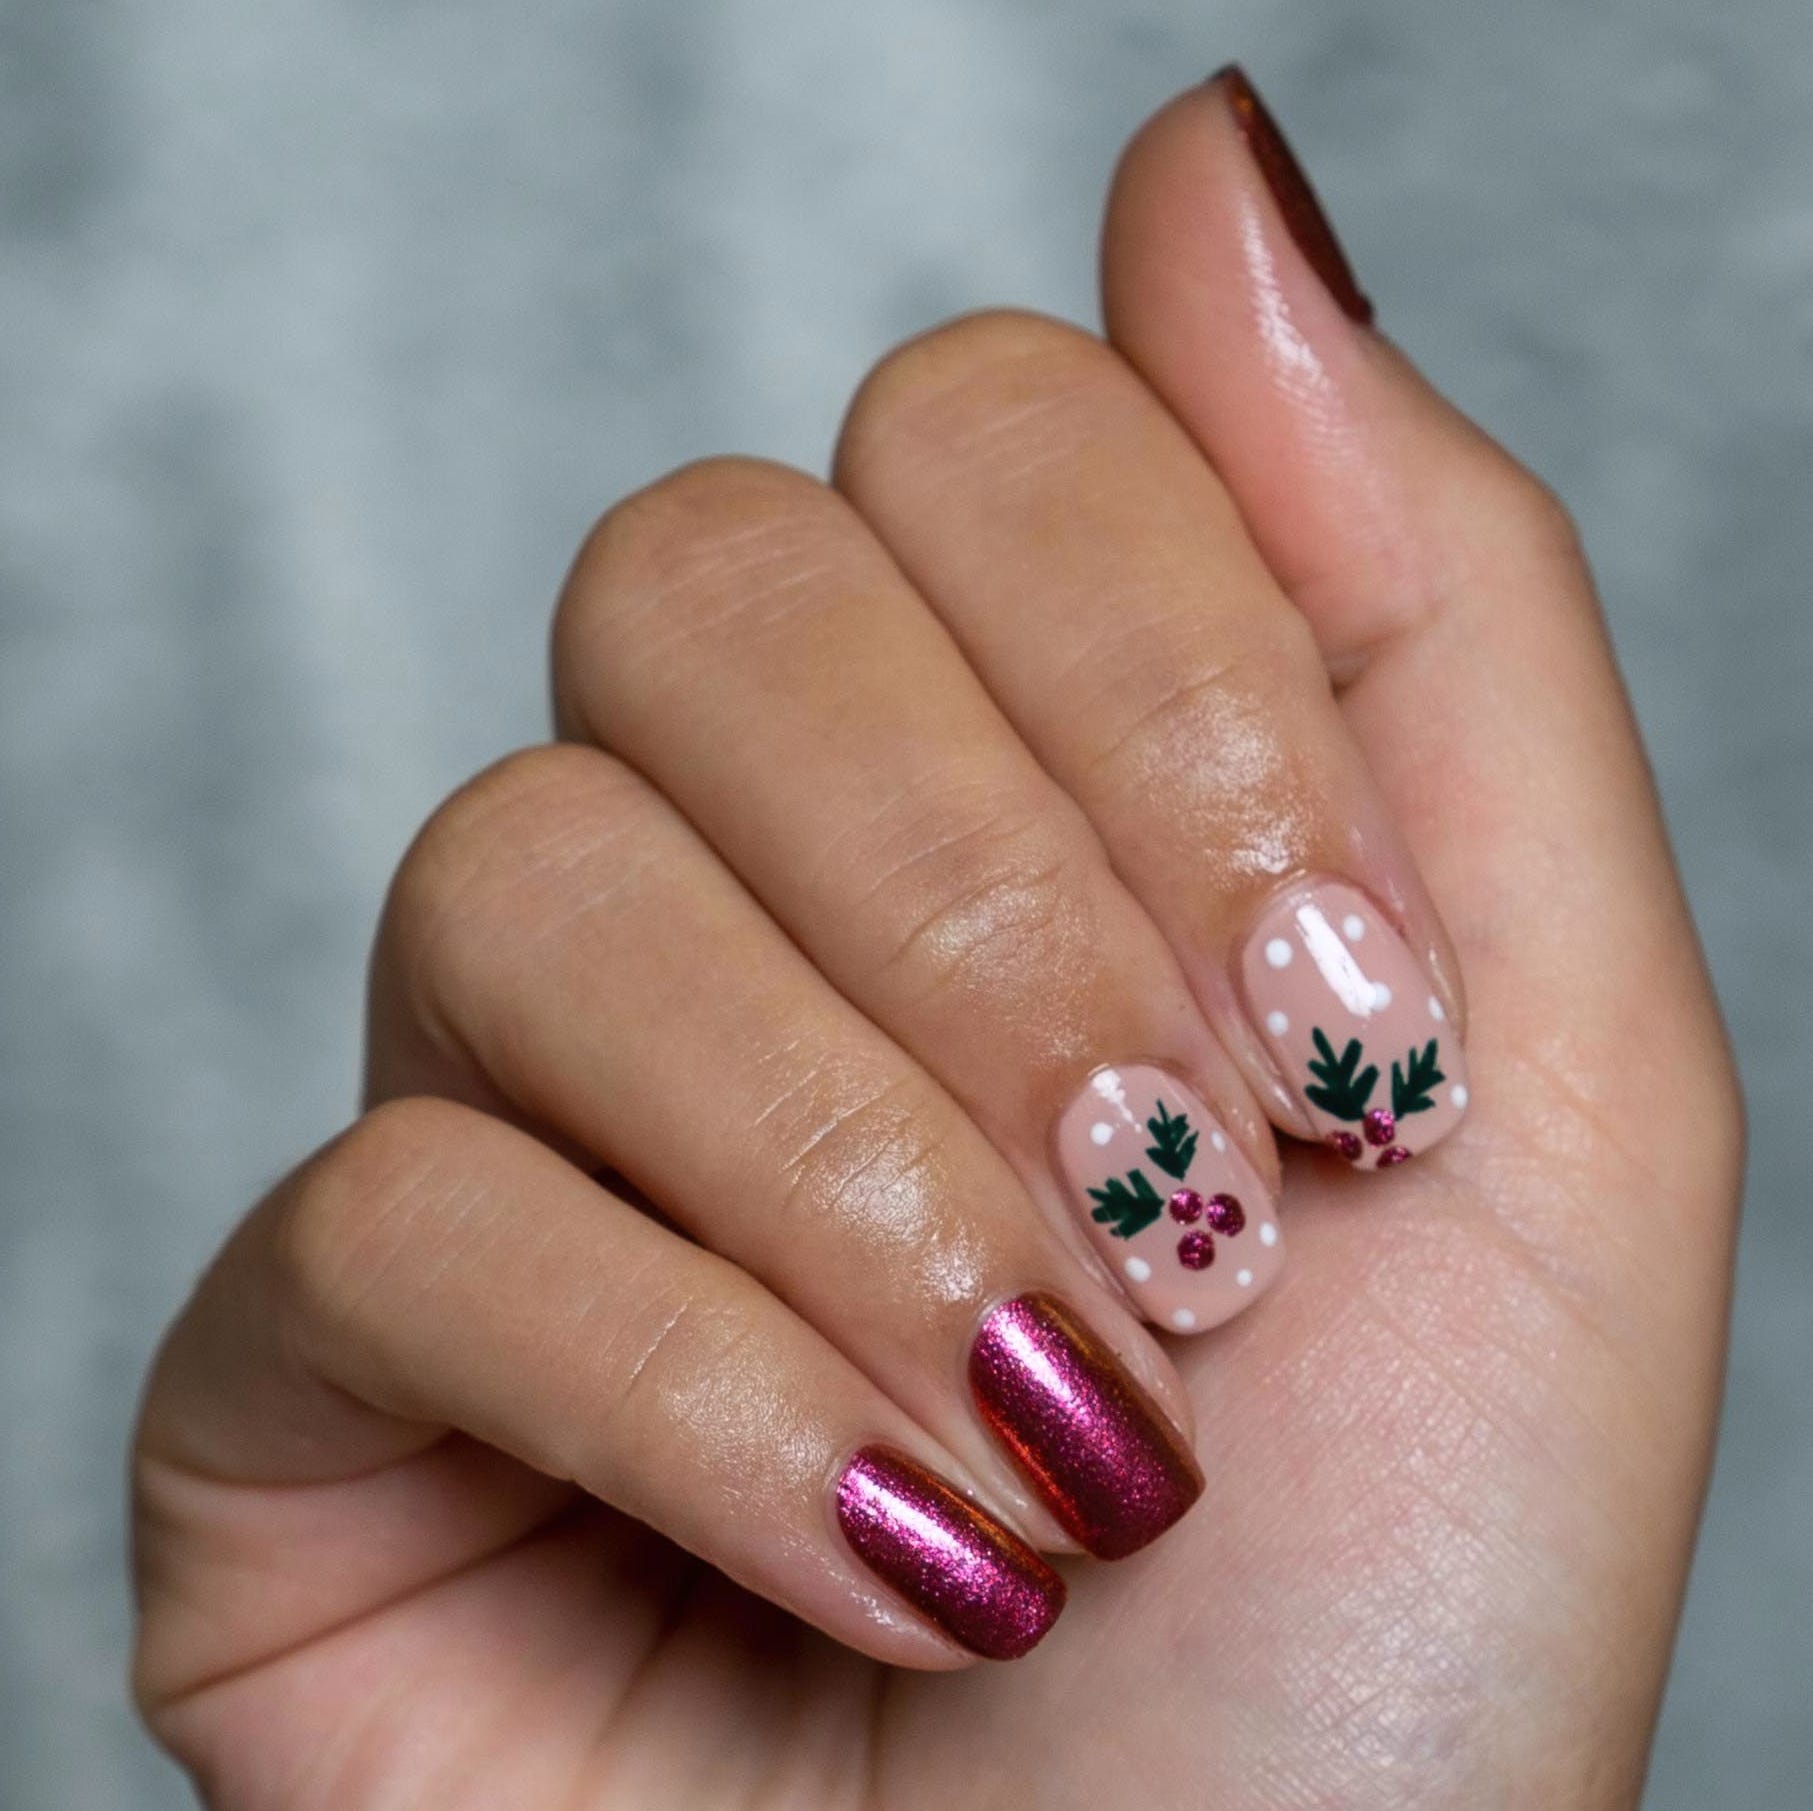
Hand-painted holly berry nails look like they took a skilled hand and a steady lamp. Decals give you the same red-and-green motif in a fraction of the time, and unless someone inspects your cuticles up close, they won’t know the difference. The metallic red polish on the accent nail catches light in a way decals can’t replicate, which is the one argument for booking the appointment.
Here’s the trade-off. That hand-painted precision starts chipping at the edges around day seven. The metallic finish scuffs if you bump a counter or open a stubborn jar. You trade two hours in the salon for a design that looks pristine for exactly one week of holiday parties. After that, it’s a maintenance project.
Glossy Christmas Tree Wreath Stilettos
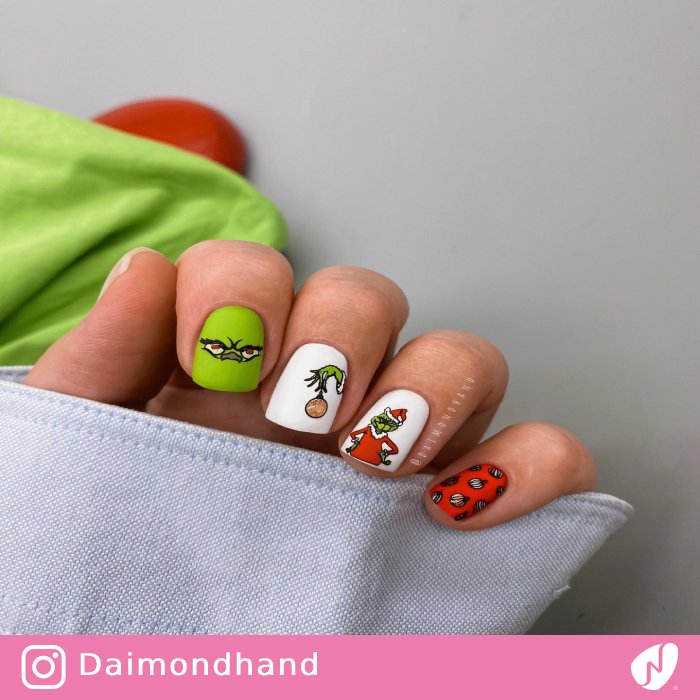
A christmas wreath nail on a long stiletto is a lot of real estate. It suits people with naturally long nail beds who don’t mind catching every sweater sleeve. Skip it if you type for a living or have a toddler.
- Shape: long stiletto
- Color: olive green and burgundy
- Finish: glossy
- Technique: hand-painted wreath with rhinestones
- Accent: gold ribbon and red baubles
These christmas wreath nails are a salon commitment for one festive night out.
White Snowman Face Square Nails
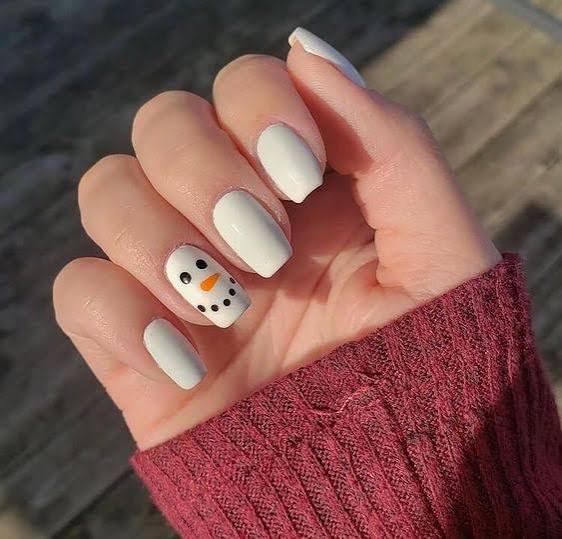
Can snowman face nails survive a week of holiday baking? The opaque white base shows every speck of flour and cranberry juice, so you’ll be scrubbing more than you’d like. The simple face art—black dots, orange triangle—holds up fine because it’s just a few strokes. This is a DIY design you can do with stickers or a dotting tool in twenty minutes. The standout detail is the snowman’s smile; it’s what people notice first. White polish does tend to yellow after a few days, especially near the cuticle, so plan a fresh top coat on day three.
Glitter Red Green Retro Ornaments
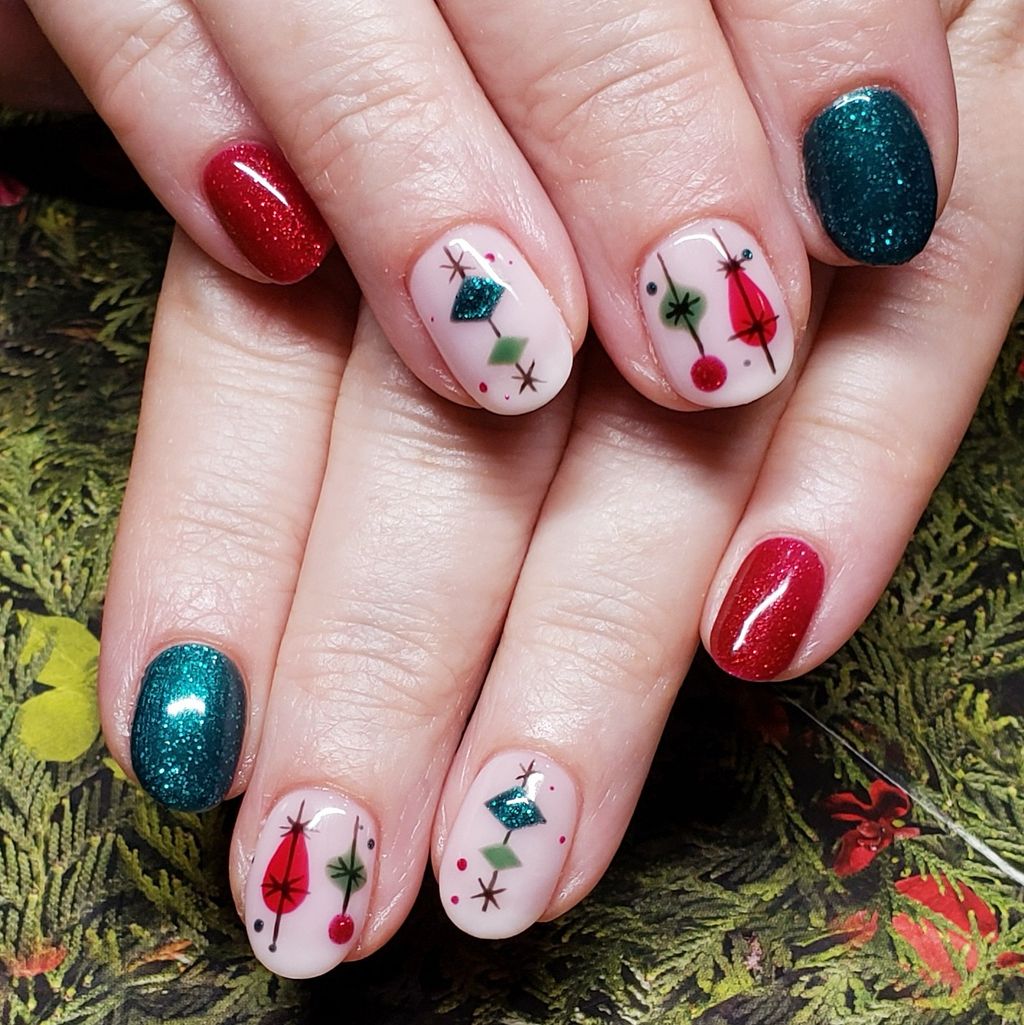
I thought retro christmas nails with ornament decals would look like a craft project. They don’t. The trick is using high-quality decals and a thick no-wipe top coat to seal them flat. The pale pink base keeps it from feeling heavy, and the glitter accents catch light without looking messy. The salon version uses hand-painted ornaments, but decals get you 90% of the effect in half the time.
For upkeep, keep a bottle of cuticle oil at your desk and reapply top coat on the glitter nails every three days. The decals themselves last the full two weeks if you avoid soaking them in hot water. A glitter smoother tool helps file down any rough edges without lifting the decal. The red and green glitter can be stubborn to remove, so plan for a foil wrap soak-off.
Confetti Dots Red Glitter Almonds
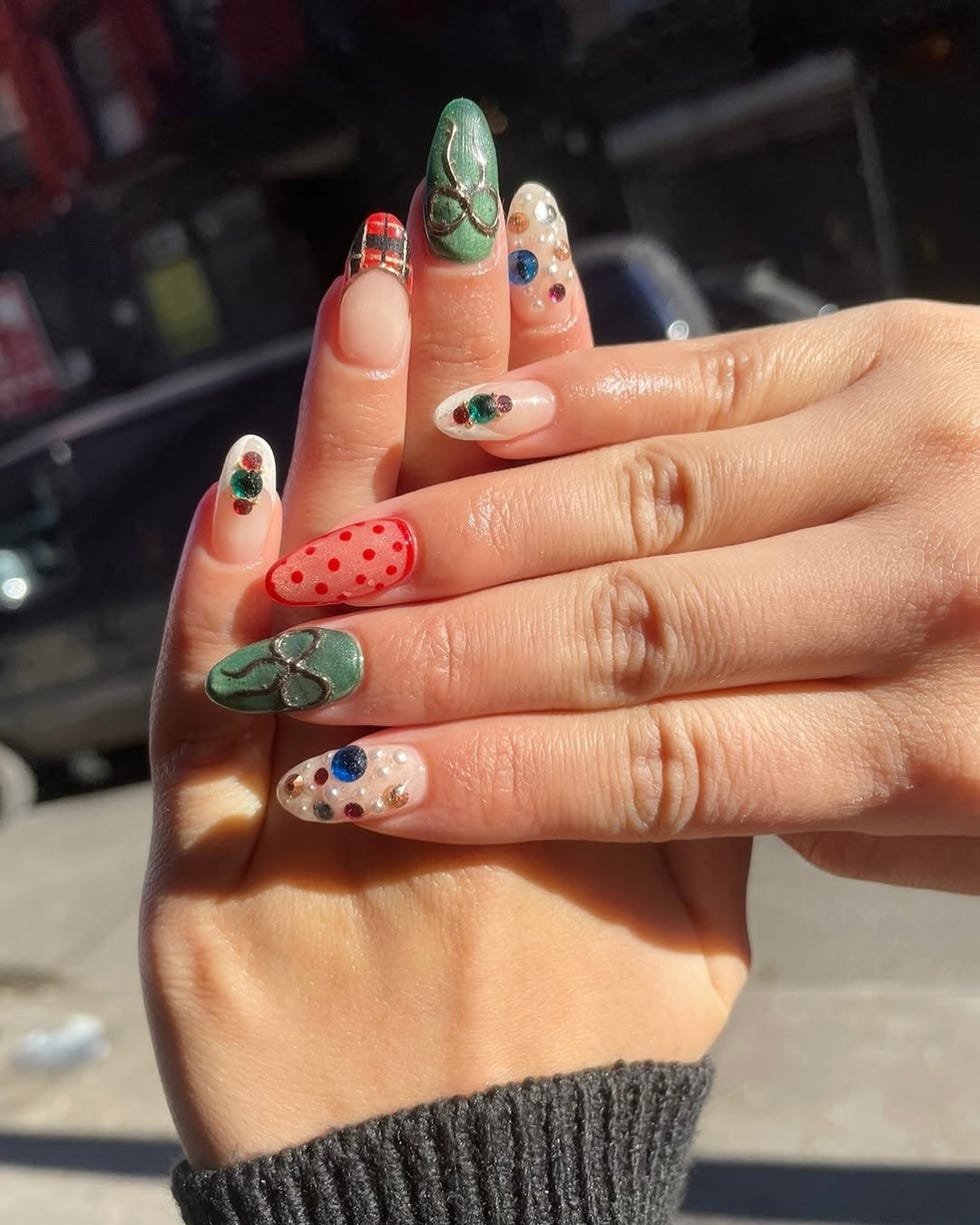
Red glitter confetti nails with scattered dots sound playful. In practice, the dots land wherever the dotting tool decides, and the red glitter base makes every imperfection obvious. The glitter is a nightmare to remove—expect foil wraps and patience. The almond shape softens the chaos a bit, but I’m not convinced the look holds up past day three when the glitter starts dulling. It’s a fun idea for one party, not for a week of wear.
Final Thoughts
After writing all 20, the one I keep staring at is the sheer pink chrome with the red bow. It’s the quietest thing here. But it lasted through three gift exchanges, a turkey dinner, and one accidental dish soak without a chip. That’s the Christmas miracle I didn’t expect.
- Cuticle oil twice a day, no exceptions
- Thin top coat refresh on day 5
- Gloves for any dish or oven work
- File edges on day 8 to prevent snags
I’m booking that sheer pink chrome for New Year’s Eve. The bow stays.