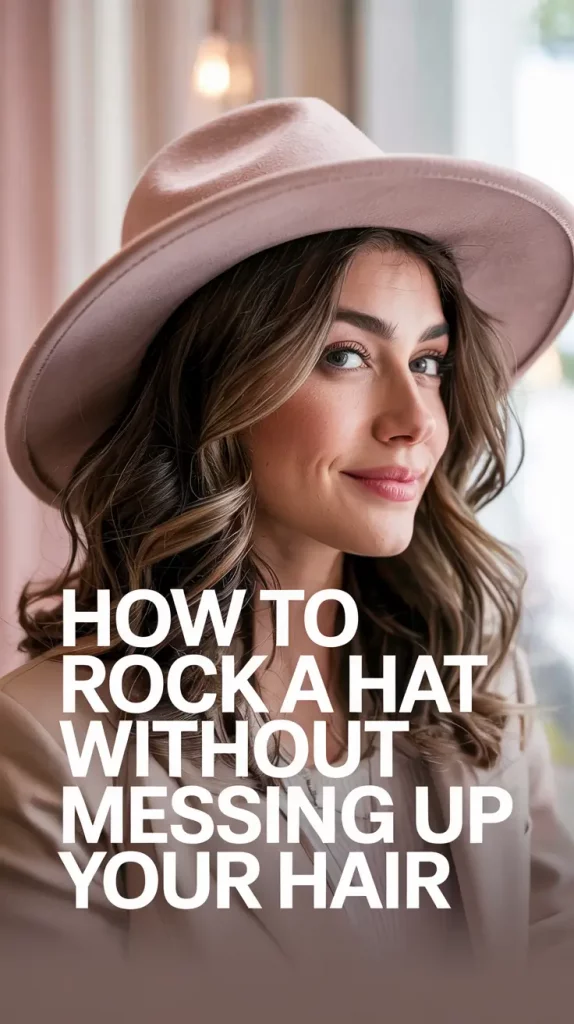
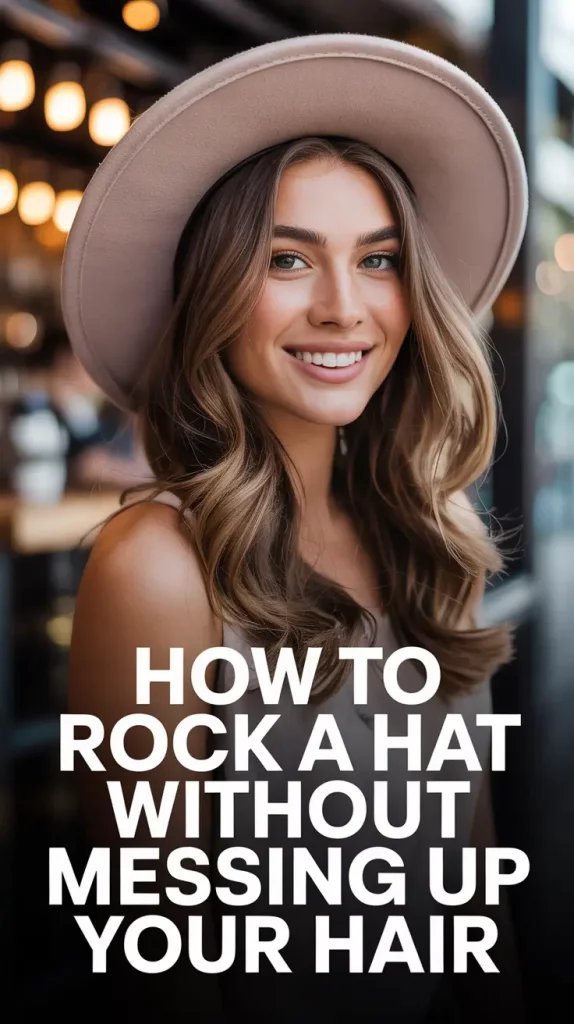
Did you ever take off a hat only to notice your hair in the mirror and think to yourself “that’s ruined now?” Me too. I used to adore how a hat could accentuate a style until I realized it also accented my hair getting flattened, frizzy, or even worse – greasy at the roots and dry at the ends.
I used to believe this was the unfortunate reality if I wanted to be stylish in the winter or during hot summers. The reality? It doesn’t have to be. You can absolutely wear hats and ensure your hairstyle remains intact. In this article, I will provide a guide on all the protective prep that needs to be done, the actual putting on of the hat, and the recovery needed afterwards. This is not a theory, it is what worked for me.
What Actually Ruins Your Hair
This part caught me by surprise: the damage isn’t always from the hat itself.
Sure, hats can squash your roots and build heat and moisture, but a lot of the chaos comes from what happens underneath—friction, sweat, static, and even the fabric. I realized that I was blaming the hat for what was poor prep and bad material.
Sweat and friction cause roots to flatten, along with whispy tendrils of hair around the face. Your scalp feels comfy beneath the beanie or straw fedora but not outside. And if your hat fabric holds onto static? Kiss flyaway hair goodbye.
Once I understood the mechanics, it all clicked. You need to be smart with your strategies from the very start. There’s no point in battling with the hat, so you need to work with it instead.
Prepping Your Hair the Right Way
The main issue was one that I was sure I wouldn’t like to deal with – using product before cladding on the beanie.
Hat brims and cap visors tend to generate some heat: a boost of warmth can have great outcomes, but also render me quite uncomfortable. In reality, working without any product seemed like an adequate option to a lot of people. However, not prepping my hair in fact made things worse. The easy way out? Intentional texture and light layering.
What to do before putting on your hat:
- Even if your hair is freshly washed, make sure to use dry shampoo first. It helps absorb perspiration and forms a protective barrier.
- Lightly spray some leave-in conditioner mist to the ends to mitigate static and dryness.
- Avoid sculpting hairstyles, instead, go for manageable ones like a loose ponytail or soft braid that will keep their shape.
For me, it was these three steps. Not only was I able to better manage my hair, but it looked so much healthier after removing the hat. Seriously, no exaggeration.
Choosing the Right Hat (Yes, It Matters)
Let me show you how that worked out… I had a wool hat I adored, but every time I wore it, my roots turned … To put it nicely, my roots became a flattened pancake and my ends went haywire. The lining was to blame.
So I started paying attention to how hats were made, not just how they looked.
Tips for Purchasing a Hair Friendly Hat:
- Lining: It is best when the lining of the hat is satin or silk because they assist in keeping moisture.
- Fit: Hats should not be overly tight as they compress your style.
- Shape: Wide brims or accomplished hats, for example, berets, permit more space for your hair to “breathe.”
- Seasonal material: use cotton or straw for summer and wool with a smooth lining for winter.
The moment I converted to satin-lined caps and volume increased, the impact was immediate. I was able to preserve my curls and straight days remained smooth.
Steps to Follow After Removing Your Hat
That is how everything changed for me.
When the hat is removed, there is a moment of truth which determines how my hair recovers. The steps, however, are not meant to re-style your hair completely. Rather, you need a couple of minutes and a few tools.
| Hair Issue | Quick Solution | Time Required |
|---|---|---|
| Flat roots | Head upside down, puton a spritz of root refresher, massage roots | 2 minutes |
| Simplistic & flyaways | Appy serum or rub a dyer sheet softly on hair | 1 minute |
| Kinks from elastic | Water mist and finger comb | 2-3 minutes |
To change with Dry shampoo or basic makeup no takedown is needed. These are small so they can be kept in bags. I personally keep them in my handbag as I have no them in the house. I also have a silk scarf in hand for hido available mess.
Best And Easiest Hat Hair Hairstyles In One
Some hairstyles look good after a hat, would you believe me if I told you there are actually some that does?
I am still figuring this. That said, there are a few that undo and shift in such a way that makes after hat adjustments simple—or impossible.
My 4 preferred hairstyles that work with hats:
- Over-the-shoulder braid (protects hair and looks textured)
- Chic low messy bun (counters headwear indentation)
- Wavy beach hair (movement distracts from dents)
- Sleek low ponytail (polished parts are accentuated with structured hats)
And when I’ve been wearing a hat for a long time, and need to refresh my hair? I just need to shake out the braid, give it a bit of twirl with my fingers, and spray a touch of salt spray, now volumized hair with mess is effortless.
Effects of Fabric, Humidity, & Hair Type
This is something I wish I had known long ago. There are differences in the way hair is styled and managed under a headwear, for example a hat.
If you have fine straight hair, it may lead to suffering from flatness. Thick or curly head of hair will usually face the opposite challenge, an overpowering amount of volume and frizz. Add the texture of the cap and local weather makes it a circus.
I began to map out the most effective approaches for each specific scenario, and here’s what I came across:
- Mist + Wool or fleece + dry air = static city. Use a leave-in mist and don’t forget.
- Straw hats + curls = lots of friction. Use a silk scarf as a buffer underneath.
- Baseball caps + oily scalp = instant flat roots. Use dry shampoo first.
- Humid days = Relaxed product, looser style, let hair breathe.
My hair was no longer dictating my plans which made me feel in control. Even if it might sound a bit fussy, at least I learned to adapt.

Tips I swear upon now
Real habits that preserved my styles saved these.
Reminders you should save:
- Put on your hat after applying the products.
- Cooling is a must after heat styling before a hat goes on.
- Flip your part before donning a cap, snap your fingers and you get volume!
- Damp hair + hats = no.
- A patterned scarf saves all doubts and looks chic at the same time.
So, what do you think about manipulating your part purely for volume? It feels odd at first, but for me, it’s my secret weapon now.
Closing Remarks
Wearing a hat does not mean giving up on styling your hair. I learned the hard way with way too many bad hair days, but I eventually learned what works. Steps like prepping, the fabric of the hat, and most importantly, having a plan the night before matters the most.
So, the next time you find yourself reluctant to wear that bucket hat or wool beret, don’t be. You have methods. You have solutions. And perhaps you do have that one braiding technique that alters everything.
If you’re tired of worrying about headwear and elegant hair at the same time, then pin this.
I Would love to know the best way you can wear a hat while keeping your hairstyle intact.